

The Second Defender's Checklist
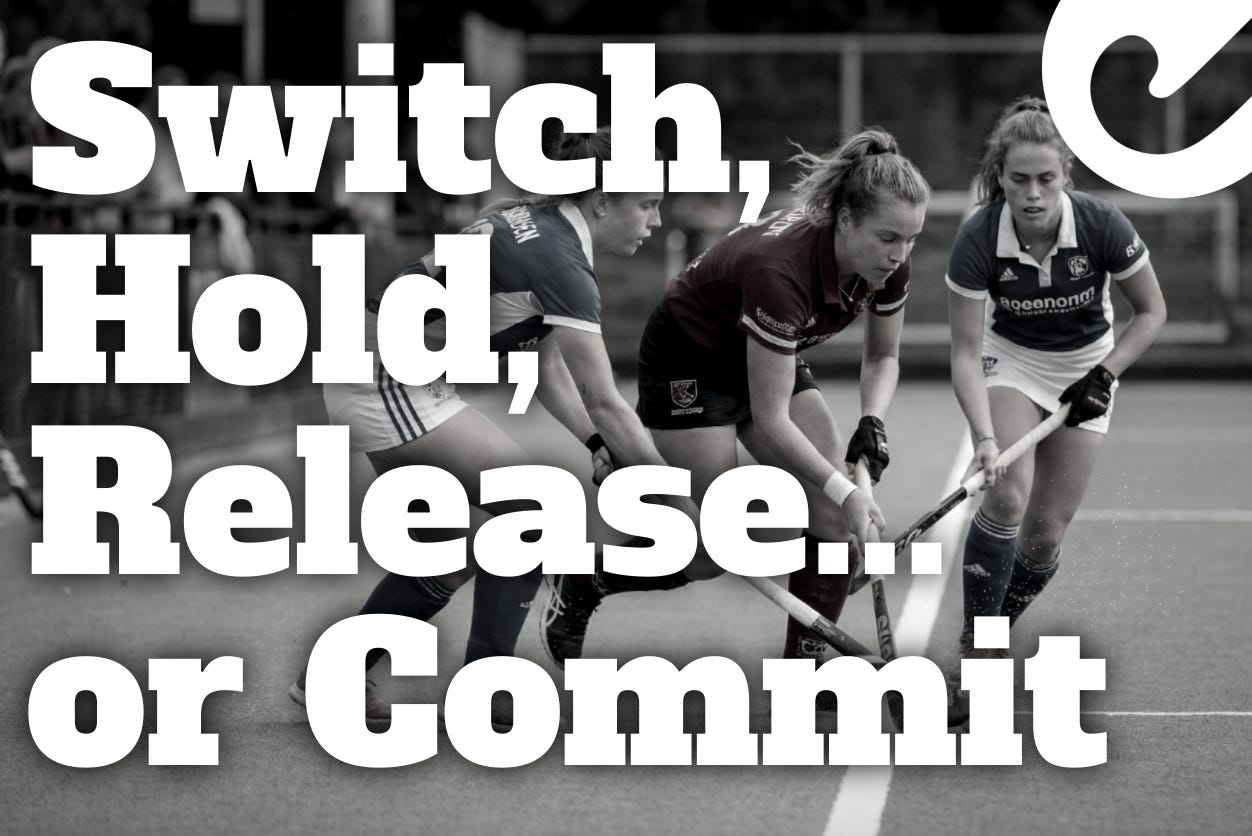
Double team defending in field hockey succeeds or fails following the second defender’s decision to switch, hold, release, or commit...


Picture this: your left-back channels an attacker towards the sideline inside the 23. Your centre-back arrives as the second defender, forming a V-shape. The attacker drops their head to drag, and your centre-back times a shave tackle—turnover won.
Now rewind and change one variable. The attacker lifts their head and spots a central striker making a blind-side run. Your centre-back commits rather than holds—both defenders lunge. The attacker slips a reverse pass into the circle. 1-0 down.
The margin between a controlled recovery and a defensive disaster sits on what the second defender decides in the half-second before contact.
As Russell Coates puts it: “The chance of winning the ball back in a 1v2 is a lot higher than in a 1v1. But in order to do that, you have to make sure it’s a one versus two and not a double one versus one.”[1]
TL;DR: The second defender’s decision to switch, hold, release, or commit determines whether a double-team succeeds or collapses into two isolated 1v1s. This article unpacks how the covering defender reads cues—attacker vision, ball accessibility, support distances—and decides in real time. Train the habit with micro (2v2/3v3) and macro (7v7/half-pitch) progressions, and learn to counter the manipulation tactics attackers use to split a well-coordinated double.
Sources used
Definitions: Hold, Release, Switch, Commit
Before we build a decision-tree, coaches and players need a shared vocabulary.
Hold means staying in the covering position. You deny the cut-back, protect the inside lane, and wait for the attacker to commit first. The first defender channels while you remain patient and goal-side.
Release is when you abandon the double to recover centrally or pick up an unmarked attacker elsewhere. You use this when the press is broken or when another threat outweighs the current ball carrier.
Switch involves exchanging primary and secondary roles with the first defender. This is often triggered when the first defender is beaten or the ball changes angle sharply—for example, a reverse to the opposite side.
Commit is when you step in to make the tackle. This should only happen when the attacker’s head is down, their vision is limited, and the first defender has successfully narrowed time and space.
As Coates emphasises: “One pressures, one covers the cut-back. If both go, you’re exposed.”[1]
The Decision-Tree 🌳 : 8 Checkpoints for the Second Defender
Use these questions in sequence to guide the second defender’s read. The decision must be automatic under pressure—trained, not improvised.
Checkpoint 1 asks whether the first defender is in a channelling position. If yes, proceed to the next checkpoint. If no, you need to switch—become the primary presser while the first defender recovers into cover.
Checkpoint 2 considers whether the attacker’s head is up or down. When the head is up and the attacker is scanning, hold your position and do not commit—they’re looking to exploit space. When the head is down and they’re focused on the ball, proceed to the next checkpoint.
Checkpoint 3 evaluates whether the first defender has forced the attacker’s body angle away from goal. If yes, continue to the next checkpoint. If not, hold—rushing the tackle invites a cut inside or a penetrating pass.
Checkpoint 4 assesses whether the ball is accessible. If the stick is exposed or the dribble is loose, proceed. If the ball is tight and shielded, hold and wait for the moment the ball comes off the attacker’s stick.
Checkpoint 5 checks your distance. Are you within one stick-length? If yes, proceed. If no, hold—closing too fast from distance risks over-running and opens space behind you.
Checkpoint 6 scans for unmarked attackers in your cover shadow. If there’s a runner you should be tracking, release to pick them up and communicate “go” to your partner. If there’s no immediate threat, proceed.
Checkpoint 7 considers your tackling angle. Can you make a two-handed tackle from inside-out using a shave technique? If yes, commit and execute the tackle. If your only option is a lunge or backhand, hold—poor technique increases foul risk.
Checkpoint 8 asks whether the press has been broken. If the attacker has accelerated past the first defender, switch or release to reset shape and protect the hotline. If not, maintain your current role and repeat the scan from checkpoint 2.
Coates drives this home with a simple principle: “The minimal thing you go for is to draw the one versus one. So make sure you’re not eliminated.”[1]
Coaching the V-Shape: Roles of Presser and Tackler
In an effective double, the two defenders, presser and tackler, form a V-shape around the attacker.[1]
The presser (D1) has one job: force the attacker’s head down, channel them towards the sideline, and deny the cut inside. Their body shape should be an open stance with stick upright, matching the attacker’s pace. They communicate by calling “I’ve got ball!” The presser’s job is not to win the ball—it’s to compress time and angle until D2 has a high-percentage opportunity.
The tackler (D2) times the intervention, protects the cut-back, and executes the tackle when all the cues align. They adopt a diagonal stance, ready to step, watching both the ball and the attacker’s hips. Their communication progresses from “Hold!” to “Go!” when the moment arrives.
As Coates explains: “You’ve got one defender whose main task is to press the attacker and make sure his head is looking down at the pitch. And then you’ve got one defender who’s actually going to make the tackle who has to focus on timing.”[1]
Zonal Considerations: Who Tackles in a Zone Defence?
Danny Kerry’s work on zone defence offers an alternative philosophy for the “who tackles” question inside the D.[2] In his model, the player who is goal-side—covering the hotline—holds, while the player arriving from the side closes and makes the tackle.
This reverses the first model, where the free man (D2) typically makes the tackle. Kerry’s rationale is straightforward: the side-closing defender has better ball access and can shave through the legs without exposing the direct line to goal.
When should you apply each model? In sideline and 23-yard situations where the ball is moving towards the baseline, the V-shape with D2 tackling works well. Inside the D when you’re dealing with an overload from the side, the zone model—where the side-closer tackles—tends to be more effective. In baseline scrambles with multiple attackers, the zone principle holds: goal-side defenders stay patient while others close aggressively.
Kerry’s principle is simple: “The player that’s goal-side holds; the player from the side tackles. Through-the-legs shave tackle technique.”[2]
Why should I subscribe and read on?
Are you already a paying subscriber? Thanks 😁 Please read on!
Not yet among our supporters? Join us and read more about maintaining compactness when outnumbered, attacker manipulation and some ideas on how to train it all...